Installation
MiKTeX
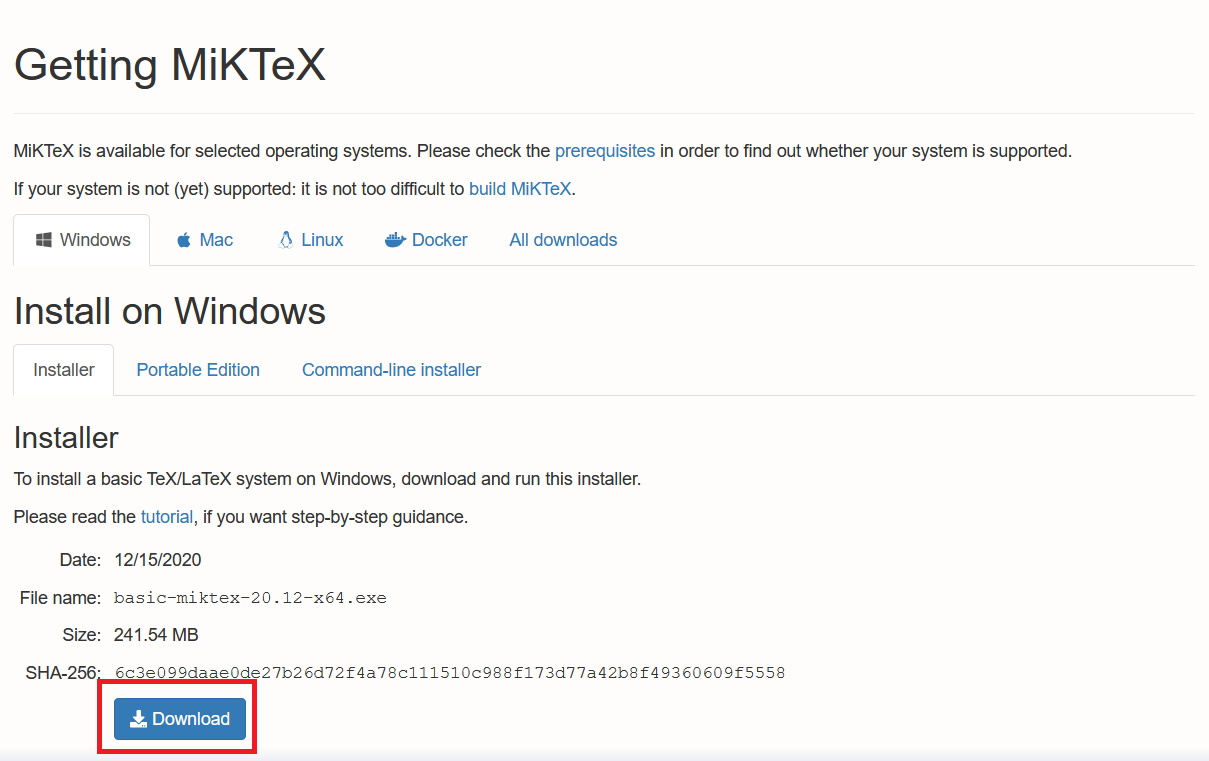
To get started with installing TeX, you'll first need to choose a variant, or "distribution," to install. Although there previously were major difference between the different distributions, by now, most of the differences between the distributions are just historical. For this tutorial, we'll be using MiKTeX, although alternatives like TeXLive should work just as well.
- To get started then, just navigate to the MiKTeX download page and download the correct installer for your operating system (in this example, we're using Windows).
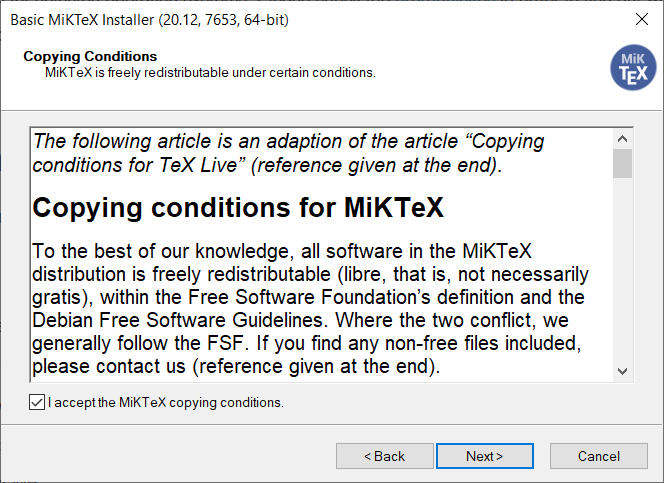
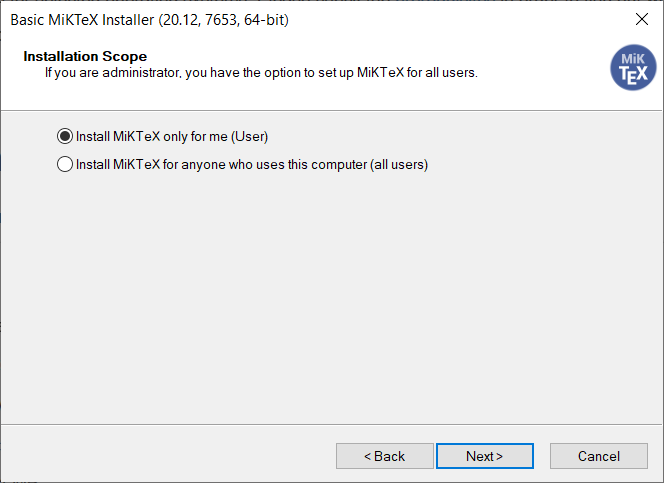
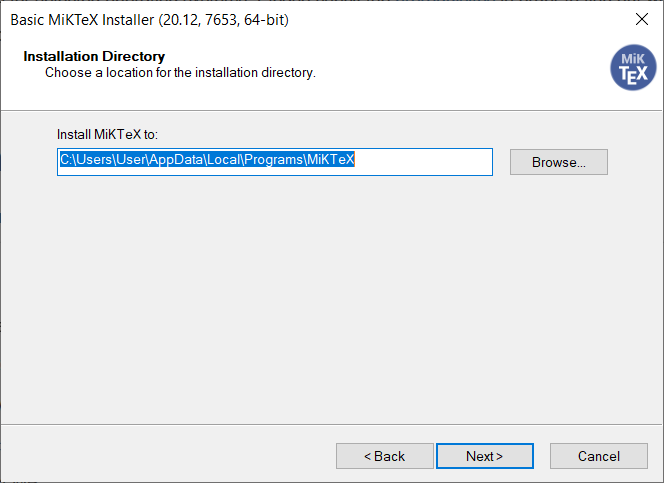
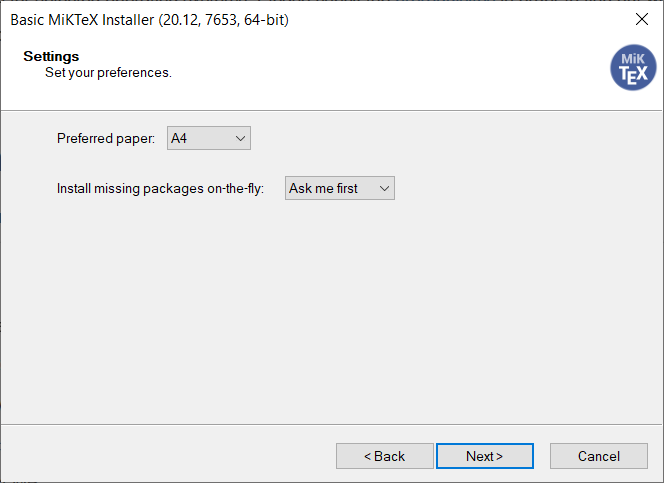
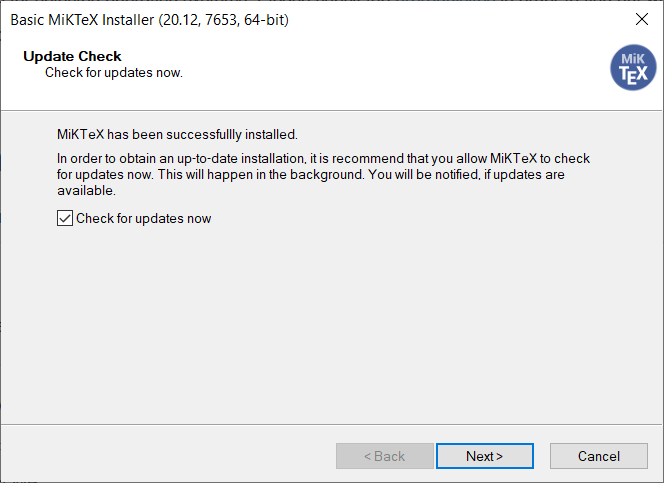
- Now run the installer! Most of the default options are fine here, but the installation process is below for completeness (you can click on a photo to enlarge it).
- Now after the installer finishes, verify that everything's working by opening a command prompt (i.e., by pressing
Windows + Rand typingcmd) then running the commandpdflatex. If your prompt looks below, then you're good to go! Now just hitCtrl + cand close the window!


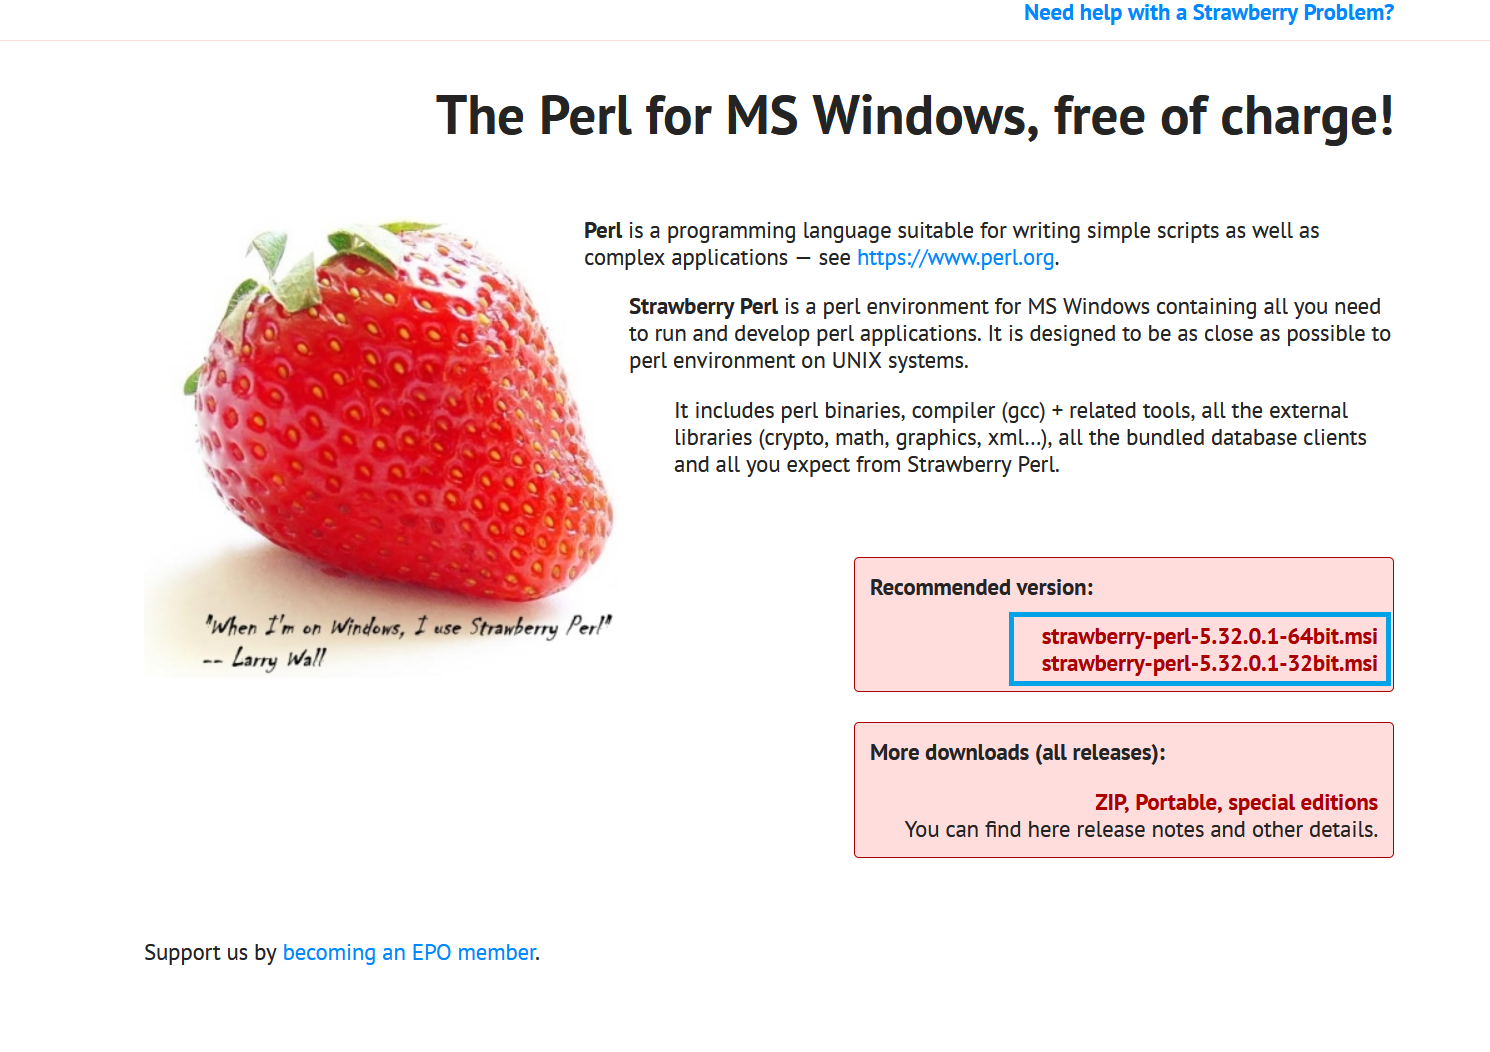
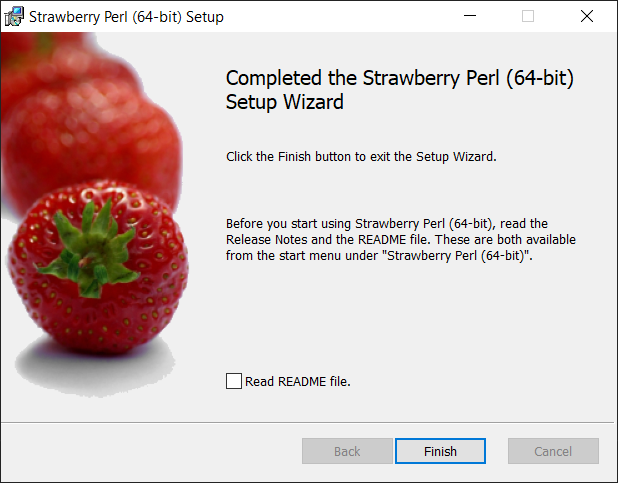
Perl
After installing MiKTeX, we'll also need to install Perl, an extra piece of software that makes working with the compiler slightly nicer.
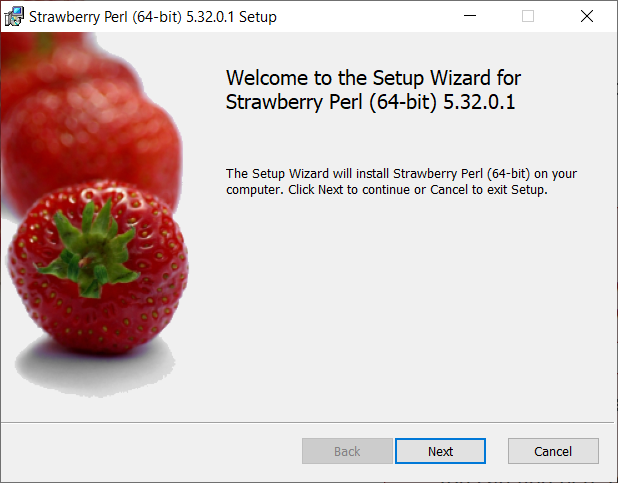
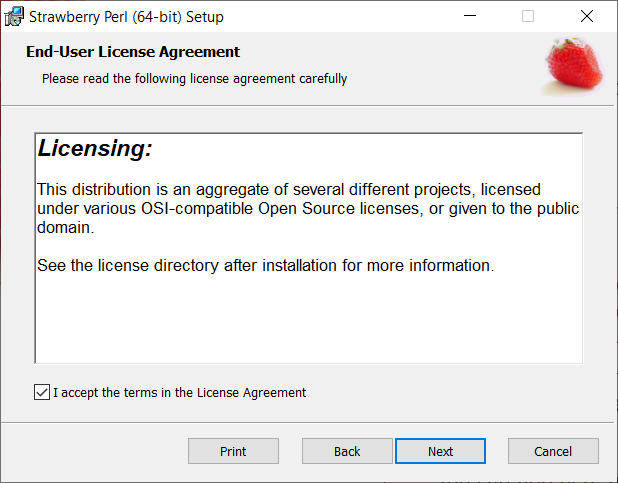
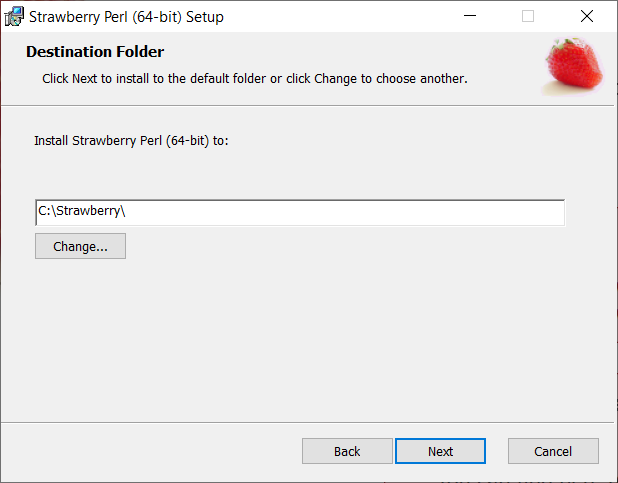
To do so, just visit the homepage and run the installer of your choice.
Again, this process is pretty straightforward, but is included below for completeness.